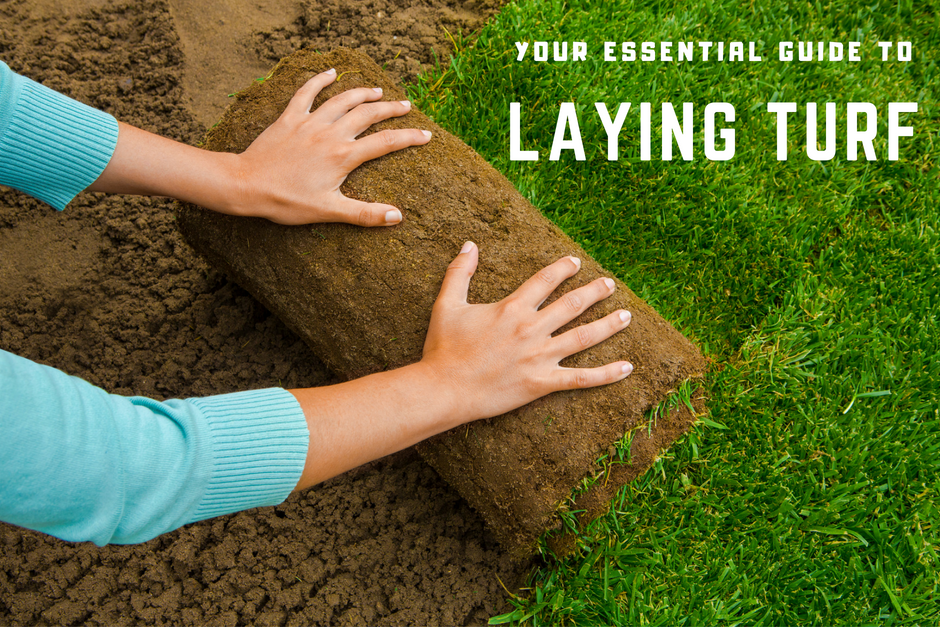
A Step By Step Guide To Turf Laying … For Beginners
You don’t need a degree in astrophysics to lay turf. It doesn’t matter if you’re a seasoned gardener with a portfolio of projects or a beginner with a touch of enthusiasm. Limber up and set aside a few hours. This post will run through the fundamentals of laying turf.
We’ll begin by creating a checklist of tools you’ll need. Next we’ll help you prepare the ground and work roll by roll. Finally we’ll discuss aftercare. This includes tips to hydrate your lawn and let it become established so it can thrive for years to come.
Gardening Tools
Let’s assume your turf suppliers in Berkshire have delivered. After a few friendly words of advice your supplier departs and your left with the task at hand. At this stage you need to be armed with trusty items including a knife for shaping the turves, gloves, turf boards, wheel barrow and a sprinkler or garden hose.
Rollin, Rollin, Rolling …
Based on supplier of choice or garden access, you may require a wheelbarrow. Every job varies. When the garden at the front requires our workmanship, we can drop off the turf next to the job. On other jobs, however, our team need transport the turf down a side path, up a verge, even over a stream on occasion.
While a seasoned landscaper with a sturdy barrow can manage up to 10 rolls at a time a newbie should just take a number they’re comfortable with.
Landscaping practices vary. If you’ve watched garden lifestyle programs or scoured YouTube you may read about the benefits of stagger the rolls like slabs. This practice is aid the process of rhizomes binding together. In reality efficiency is the priority for experienced turfers — And we dismiss the superfluous.
The BTD team is versed at proving turf and landscaping in the Berkshire area. We don’t take half measures — We follow efficient practices honed over laying countless acres of turf over the years.
Your initial rolls should be used to create a boundary or perimeter. Once you’ve created the outside line you can begin to work line by line. Laying 1 line parallel to the last ensuring that the edges are neatly tucked in along the way.
The planks we referenced earlier come into use line by line and at the close of laying the turf. Planks are positioned over the every line you’ve laid to walk along, both to ensure the turf firmly established and to avoid unsettling the soil with your boots. Now for good measure, and a great workout, you should utilize the planks.
Raise and slam the planks along the lawn to ensure turves have set in.
Closing Thoughts On After Care
Over the history of our company we have known 1 or 2 clients neglect aftercare. Some don’t allow the lawn to become established and allow children and pets to run across their lawn. Others don’t hydrate the turf and note gaps appearing between the turves and discolouration.
So we’ll re-affirm the value of after care in the closing of this post. A sprinkler should be liberally applied to your freshly laid lawn for up 1 hour a day for 7 days. You should position your sprinkler at different areas to ensure the far reaches of your garden are hydrated. Before turning the water off, spot check your lawn and apply the sprinkler if needed.
After you’ve nursed your lawn through its infancy, you can reduce the regularity. Adjust accordingly based on the weather, however, just once or twice per week will generally suffice.
Finally, how low should you mow? We’d recommend mowing your fresh turf at a raised setting until the roots have set in. At this point you can study the four seasons lawn care essentials outlined in our blog. You second is to contact our team of lawn masters for long term garden maintenance.

